How to Organize Travel Photos: The Complete 2026 Guide
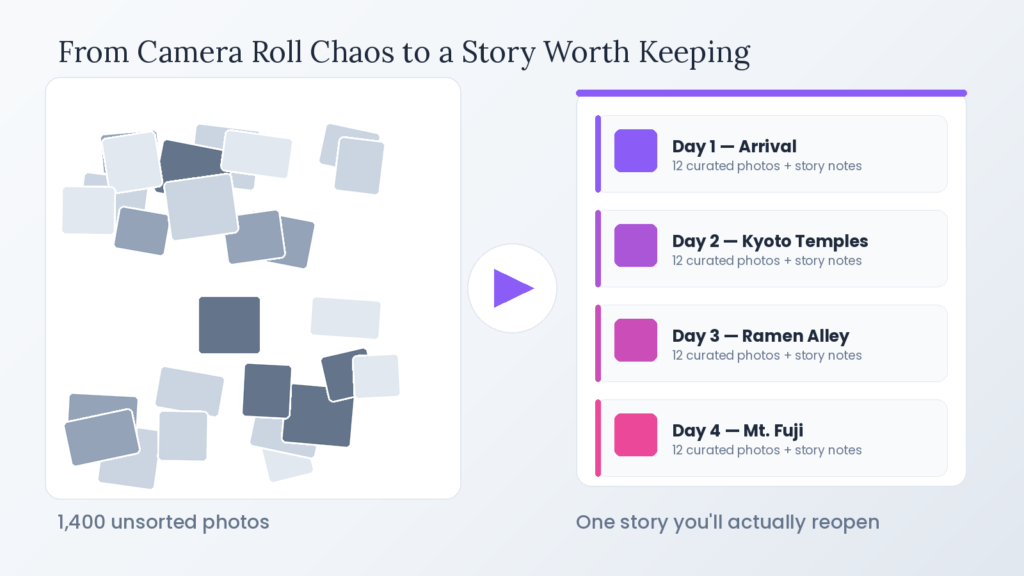
You know the feeling. You land home, phone at 12%, and somewhere in there are 1,400 photos from the trip of a lifetime. For about 48 hours you’re going to tell yourself you’ll “go through them this weekend.”
You won’t. Almost nobody does.
A 2026 study of 8,000 consumers across the US, UK, France, and Germany found that 70% of smartphone photos are never looked at again once they’re taken. People take an average of 23 photos per vacation occasion, and by the time they’re home, most of that collection has already started its slow drift into digital storage — unsorted, uncaptioned, and functionally invisible.
That’s not a photo problem. That’s a memory problem. The photos exist. The trip is in there somewhere. It’s just buried under duplicates, blurry hallway shots, and 40 nearly identical pictures of the same sunset.
This guide is the system I’d actually recommend to a friend who just got back from a trip and is staring at their camera roll in despair — not a vague “back up your photos!” checklist, but a real, step-by-step process for turning travel chaos into something you’ll open again in five years and actually feel something.
Quick Answer
If you only read one section, read this one.
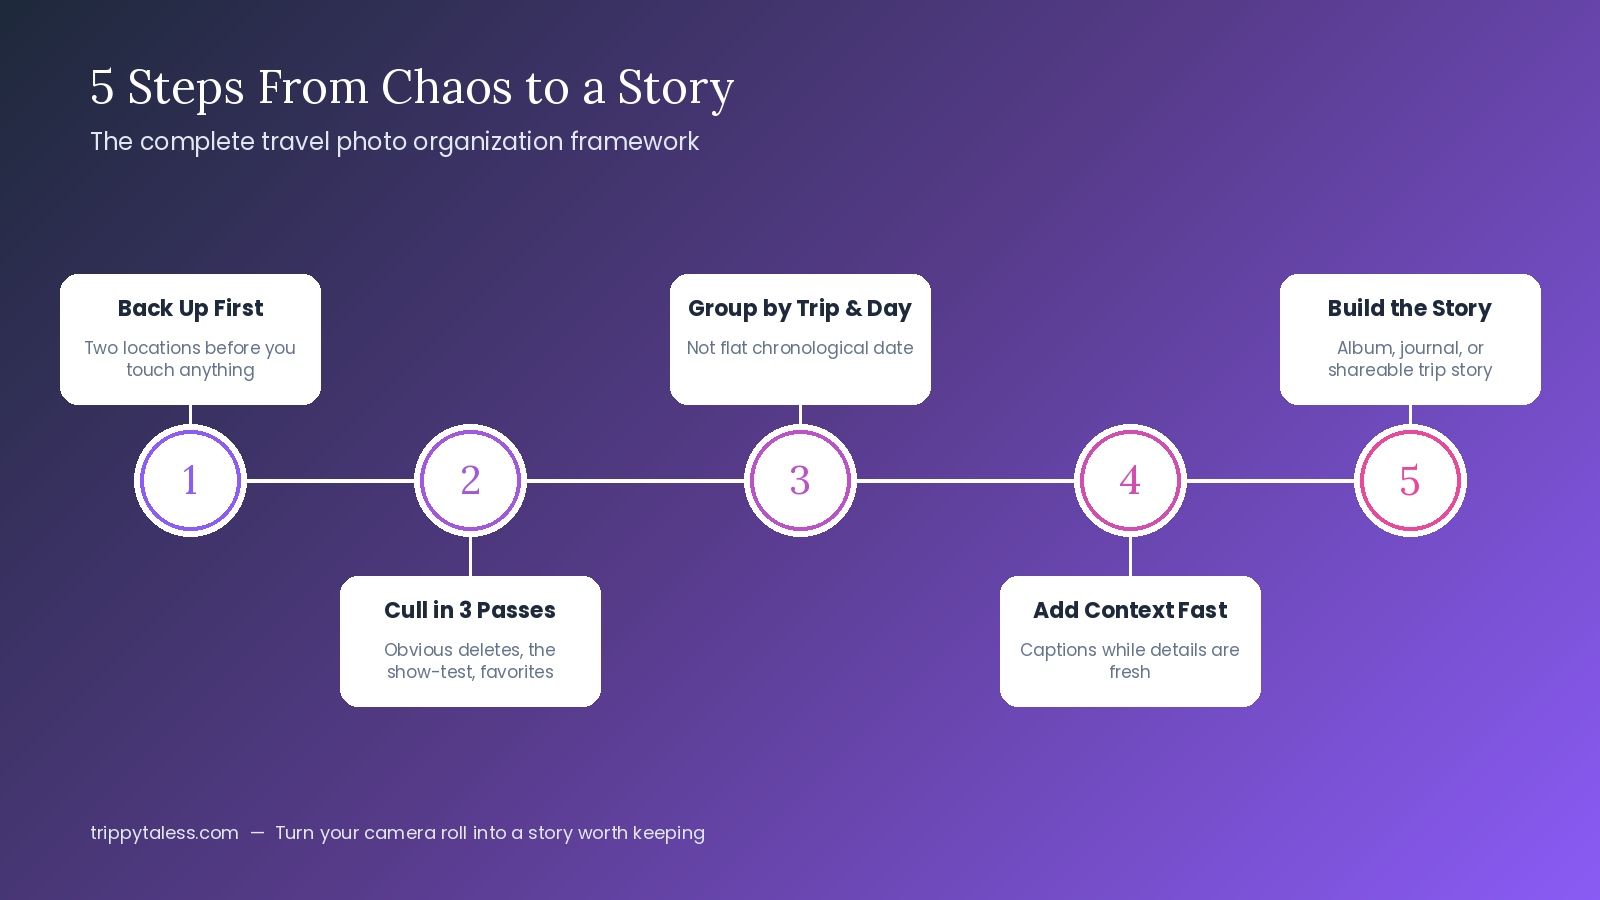
To organize travel photos properly: back up everything to two separate locations before you touch anything, cull the collection down using a three-pass method instead of trying to judge every photo once, group what’s left by trip and day (not just by date, which flattens everything into a meaningless scroll), add short captions to the photos that matter while you still remember the details, and finally turn your best 50-150 photos into an actual story, album, or journal — something with a beginning, middle, and end — rather than leaving them as a folder you’ll never open.
The single biggest reason travel photo organization fails isn’t a lack of apps. It’s that “organizing” gets treated as a filing task instead of a storytelling task. Filing is boring, so it gets postponed forever. Storytelling is something people actually want to finish.
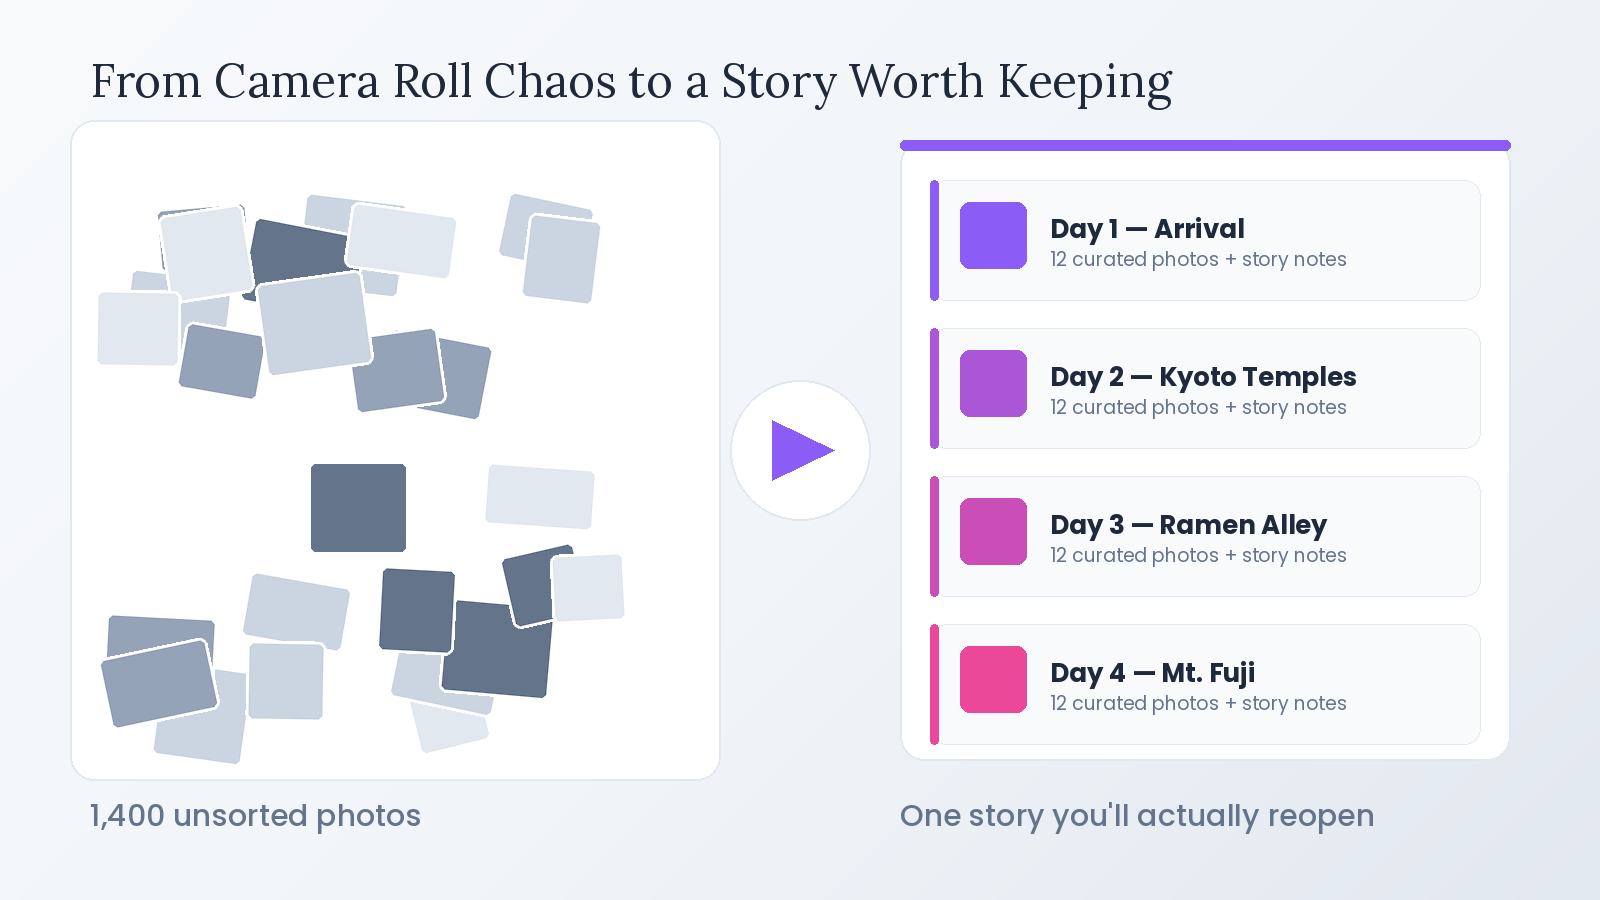
Why Travel Photos Are Different From Every Other Photo
Most photo organization advice is generic — it’s written for someone’s entire 40,000-photo camera roll spanning a decade of birthdays, pets, and screenshots. Travel photos need their own approach for a few reasons.
First, volume spikes. You might take more photos in nine days in Japan than you take in the other 356 days of the year combined. That volume overwhelms whatever loose system you use the rest of the time.
Second, travel photos are inherently narrative. A birthday party is one event. A two-week trip through Vietnam has a shape — arrival, a city you loved, a city you didn’t, a meal you still think about, the flight home. Sorting travel photos by date alone throws away that shape and turns it back into a wall of thumbnails.
Third, and this is the part most people underestimate: context decays fast. You remember exactly which alley that photo of the lantern shop was taken in — today. In eight months, it’s just “a street, somewhere in Vietnam probably.” Memory research consistently shows autobiographical detail fades within weeks without reinforcement, which is exactly why the organizing step can’t wait until “someday.”
Step 1: Back Up Everything Before You Organize Anything
This sounds obvious, but it’s the step most people skip, and it’s the one that turns a minor annoyance (messy photos) into a real disaster (lost photos).
Follow the 3-2-1 approach that professional photographers use: keep three copies of your photos, on two different types of storage, with one copy off-site. In practice, for a normal trip that means:
- Your phone (copy one)
- A cloud backup like Google Photos, iCloud, or Amazon Photos (copy two, automatically off-site)
- A local backup on your computer or an external drive (copy three)
Do this before you start deleting anything. Every year, someone deletes what they think are 200 duplicate hallway shots and one of them turns out to be the only photo of a moment they wanted to keep. Back up first. Cull second.
Step 2: Cull With the Three-Pass Method, Not the One-Pass Method
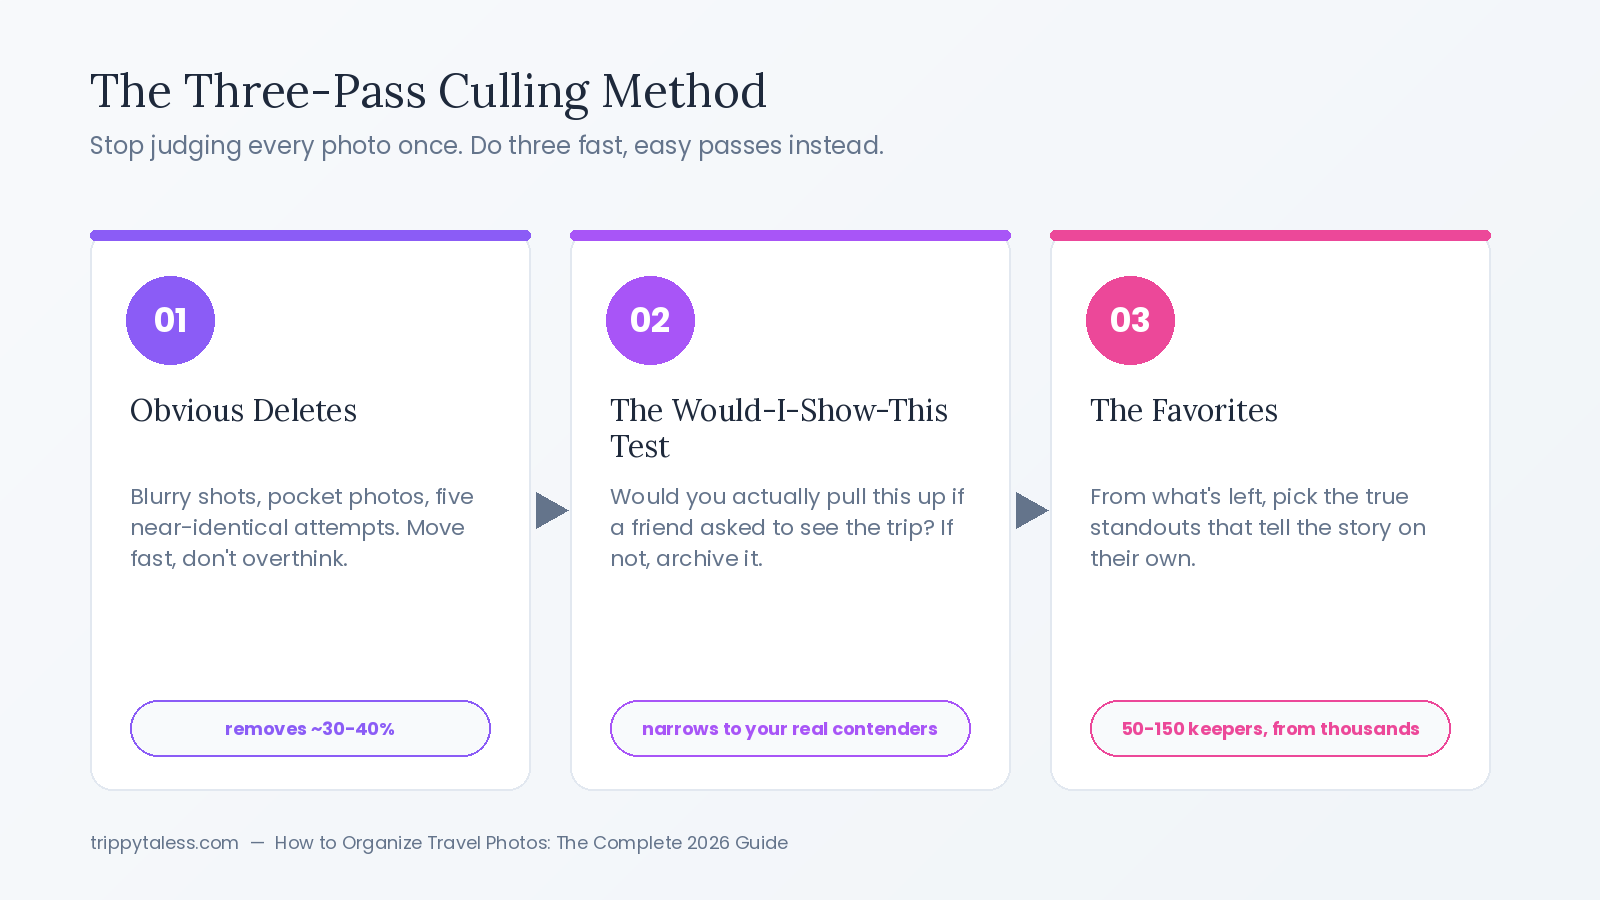
Most people try to go through their photos once, photo by photo, deciding “keep or delete” on each one. This is exhausting, which is exactly why it never gets finished. Instead, use three fast passes with a different job each time.
Pass one — obvious deletes. Blurry shots, accidental photos of your pocket, five identical attempts at the same shot. Move fast. Don’t overthink. This pass alone typically removes 30-40% of a raw travel photo dump.
Pass two — the “would I show this to someone” test. For everything that survived pass one, ask a simple question: if a friend asked to see photos from this trip, would I actually pull this one up? If not, it goes in an archive folder — not deleted, just out of the way. This isn’t about being harsh. It’s about separating “photos that exist” from “photos that represent the trip.”
Pass three — the favorites. From what’s left, pick the true standouts — the shots that, on their own, tell someone something about the trip. This is usually a small number: 50 to 150 photos out of a starting pool that might be in the thousands.
Aim to reduce your total collection by roughly 40-60% through culling. That’s not throwing memories away — the full archive still exists in your backup. It’s separating the photos worth building something with from the photos that are just… there.
If you’re staring down a genuinely huge backlog — a multi-country trip, a gap year, two years of accumulated travel photos you never dealt with — don’t try to do it all in one sitting. Break it by trip, and do one trip per session. A backlog of 5,000 photos across four trips is four manageable projects, not one impossible one.
Step 3: Group by Trip and Day, Not Just by Date
Your phone already sorts photos by date. That’s not organization — that’s just the default. Real organization groups photos the way you’d actually tell the story of the trip.
Within each trip, break things down by day or by location: Day 1 – Arrival & Shibuya, Day 2 – Day trip to Kamakura, Day 3 – Osaka. This does two things. It makes the photos searchable months later (“wait, which day did we go to that ramen place?”), and it reveals the narrative structure of the trip that a flat date-sorted grid completely hides.
If your trip crossed multiple cities or countries, group at that level first, then by day underneath. “How to organize photos by country and city” is one of the most common ways people search for help with exactly this problem, because a flat folder full of thousands of photos from a multi-stop trip is nearly unusable without it.
Step 4: Add Context While You Still Have It
This is the step almost everyone skips, and it’s the one that determines whether your photos mean anything in five years.
A photo without context is a photo of a building. A photo with a caption — “the ramen shop we went back to twice, run by a guy who remembered our order the second time” — is a memory. The image is identical. What’s different is whether it can actually transport you back.
You don’t need to caption everything. Focus on your 50-150 favorites from Step 2, and write one or two sentences on each: where it was, what was happening, what you were feeling, any detail that made it specific to you rather than to any other tourist standing in the same spot. Do this soon. Detail fades fast, and there’s a real difference between writing this a week after the trip versus trying to reconstruct it a year later from memory alone.
Some people use structured tagging — location, date, people, a few keywords — instead of full captions. Photography organization systems that manage six-figure image libraries generally rely on a fairly small, consistent set of keywords per photo rather than exhaustive descriptions, because a simple system you’ll actually maintain beats an elaborate one you’ll abandon after the first trip.
Step 5: Turn the Best Photos Into a Story, Not Just a Folder
Here’s the uncomfortable truth: a perfectly sorted folder is still just a folder. Nobody opens a folder for fun. People open stories, albums, and journals.
This is the step that separates “I organized my photos” from “I actually preserved this trip.” Once you’ve culled, grouped, and captioned your favorites, do something with them:
- Build a simple photo book or album with your best 50-100 shots in narrative order
- Write a short trip journal that pairs your photos with the captions from Step 4
- Create a shareable digital story so people who weren’t there can actually understand what the trip was like, not just scroll past a photo dump
This is also where a lot of manual systems quietly stall out. Culling and captioning by hand for a two-week trip can easily take four or five hours — which is exactly why so many people get through Step 2 and never make it to Step 5. The photos stay technically “organized” in folders that never get opened again, which isn’t really different from the chaos they started with.
This is the specific gap AI-assisted tools like Trippy Taless are built to close. Instead of manually sorting a few thousand photos into day-by-day folders and writing captions one at a time, you upload the raw dump from a trip and the AI groups photos by location and time, surfaces the shots most likely to be your favorites, and helps draft the narrative — turning a multi-hour filing chore into something closer to a first draft you edit rather than a blank page you’re staring at. The goal isn’t to skip Steps 1-4; it’s to make them fast enough that people actually finish Step 5 instead of abandoning the project at “well, at least the folders are named correctly now.”
How to Organize Travel Photos by Scenario
A single trip, a few hundred photos. Follow all five steps directly. This should take under an hour if you’re not perfectionist about captions.
A backlog of thousands of photos across multiple trips. Don’t try to do it all at once. Pick your most meaningful trip first — the one you’d actually regret losing — and run it through the full process. Momentum from finishing one trip makes the rest far less daunting.
A multi-country trip in one go (say, three weeks across Japan, or a European backpacking route). Group by country first, then city, then day. Cull per-city rather than trying to cull the whole trip at once — it’s far less overwhelming in smaller chunks.
Photos already scattered across a phone, an old laptop, and a cloud account. Consolidate into one place before doing anything else. You can’t cull or group what you can’t see in one view.
Frequently Asked Questions
How do I organize 1,000 travel photos without spending my whole weekend on it? Use the three-pass culling method from Step 2. Passes one and two are fast — you’re not making hard decisions, just removing the obvious noise. Most people can get 1,000 photos down to a manageable 100-150 favorites in 45-60 minutes once they stop trying to judge every photo individually.
Should I organize photos by date or by trip? By trip first, then by day within the trip. Pure date-sorting works fine for everyday photos, but it flattens travel photos into a meaningless scroll and strips out the narrative structure — arrival, highlights, departure — that makes a trip feel like a trip.
What’s the best app to organize travel photos? It depends on what you want at the end. Google Photos and Apple Photos are solid for backup and basic search, but they weren’t built to turn a photo dump into a story — you still do the culling, grouping, and captioning by hand. Purpose-built travel apps, including AI tools like Trippy Taless, are designed specifically to take you from raw upload to a finished, shareable trip story with far less manual sorting.
Can AI actually organize my vacation photos automatically? AI can meaningfully speed up the parts of the process that are the most tedious — grouping photos by location and time, flagging likely duplicates, and surfacing your best shots — which is most of what makes manual organization take hours. It won’t replace the judgment calls entirely, but it removes the bulk of the grunt work that causes people to give up halfway through.
How long should I wait before organizing photos from a trip? As soon as possible, ideally within the first week or two. This isn’t about tidiness — it’s about context. The details that make a photo meaningful (who was there, what was happening, what it felt like) fade quickly, and captions written a week later are far richer than captions written from memory a year later.
What should I do with all the “meh” photos I don’t delete? Keep them, just keep them out of the way. Move everything that doesn’t make your favorites cut into a single dated archive folder per trip. You’re not obligated to delete anything — you’re just making sure the good stuff isn’t buried under it.
Key Takeaways
- Back up to two locations before you organize or delete anything.
- Cull in three fast passes instead of one exhausting pass — obvious deletes, the “would I show this” test, then favorites.
- Group photos by trip and day, not just chronological date, to preserve the story.
- Add context and captions while the details are still fresh — ideally within the first couple of weeks.
- Culling and captioning are means to an end. The actual goal is turning your best photos into something you’ll open again — an album, journal, or story — not a better-organized folder you’ll still never revisit.
Final Thought
Nobody has ever looked back fondly on a well-labeled folder. They look back fondly on the stories inside it. The organizing steps in this guide matter, but only because they clear the path to the part that actually counts: building something from your trip that you — and the people who weren’t there — will actually want to open again.
If the manual version of Steps 1 through 4 sounds like more hours than you have, that’s exactly the gap Trippy Taless is built for — upload the chaos, and let AI handle the sorting so you can get straight to the story. Start your free travel story and see what your next trip looks like organized in minutes instead of hours.
Loved this story? Trippy Taless turns your own travel photos into a curated album like this — automatically.
Start Your Travel Story Free